In order to work, Caller One needs to be installed onto a main machine (we’ll refer to this as the ‘server’), which is then accessed by other machines (‘clients’) on your network.
We would strongly recommend that you have a dedicated ‘server’ machine for Caller One, kept in an apps room or similar if possible. The reason for this is that your system will only work when this machine is switched on and the system is running, so if you have multiple programs running on the same machine, the system performance could be affected.
System Specifications
The Caller One system needs a minimum spec of:
Server
- Quad core i5 or better
- 8GB memory
- At least 30GB of free disk space (more required if recording calls)
- Windows 10 or later / Windows Server 2016 or later
- Microsoft .NET core 8.0
- Balanced audio interface (speak to our sales team for current recommendations) or IP driver
Client (running browser)
- i3 or better
- Screen resolution
- 1160×1024 minimum for a 3 or 6 line system
- 1920×1080 minimum for a 12 line system
- Latest browser (not Internet explorer) – Chrome recommended
- A touch screen is preferable
- Windows, Mac or Linux operating systems supported
- An iPad can be used for lighter use.
If you have a very small station on a very low budget, it is possible to run the Caller One server and client on the same Windows machine. However, this carries a risk – if you restart the machine or switch it off, nobody will be able to call your station!
For this reason, although installing everything onto one machine is technically possible, it is not an option we recommend.
Setting up the server
- Make sure you are on the machine you will use as the Caller One server. Download the Caller One installer (the link for this will be sent to you on e-mail when you buy your system).
- Once downloaded, double-click to install.
- Follow the steps on screen, pressing ‘Next’ and ‘Install’ as appropriate.


Read the licence agreement and select the ‘I accept the terms of the license agreement’ option. Then press Next.

It’s recommended to install Caller One into the default folder, but if you need it on a different drive, you can choose an alternative location by pressing ‘Browse…’.

Press Install


Create Certificate for HTTPS
The next step is to create a security certificate. This allows the phone lines to work and for callers to be able to hear you and you speak to them. You may notice this pop up behind the install window. Click on it here to complete the certificate before starting Caller One from the install program.

Click on Create Certificate

Machine Name – this should be filled in automatically and should match the machine name of the computer you are using to install Caller One.
Company Name – The company or station this Caller One system is for.
Email Address – the contact e-mail for your organisation or support team.
Certificate Password – Add a password of your choice, here (optional)
When completed click Continue

Press Finish at the base of the screen.
Finish the Install

Press ‘Finish’ to complete the Caller One installation.
To open Caller One, double-click the Caller One shortcut on your machine’s desktop.

A warning will appear. Do not panic! This is because the system does not yet know your security certificate exists. We will sort this out in a later step.

Press Advanced when the warning appears


The default password for a new Caller One installation is “admin” – use this as the password and click Log In
We’ll now activate Caller One. Fill in the details in the Activate screen

Product Key – This will have been sent on an e-mail when you bought Caller One.
Email – The contact e-mail for your organisation or support team.
Name – Your name or your company / radio station’s name.
Site – If you have multiple Caller One installations, fill this in so you can keep track of which licence is linked to which site.
Notes – Optional – if there is any other information you would like Bionics Support to know or other information to help you keep track of what you are installing.
Press Submit to continue
Initial Configuration
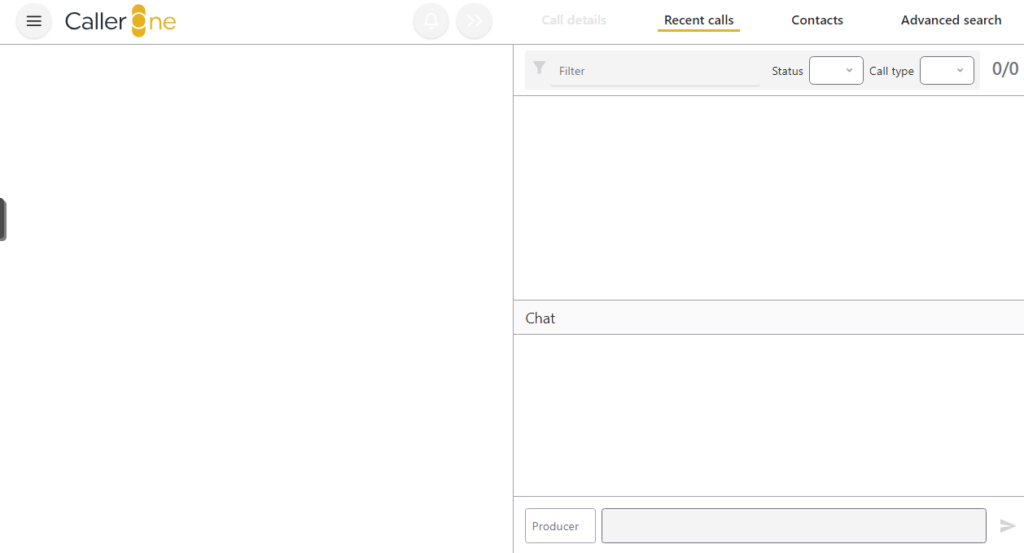
Caller One will then open but with nothing configured.

The first thing we need to do is install the certificate we created earlier. You can follow the instructions explained here – Installing the certificate
Once the certificate is installed we can now begin to configure the various part of the system.
